Raspberry Pi Stepper Motor Project
I have been playing around with the Raspberry Pi quite a bit lately and my latest project is a 3D scanner.
I purchased a cake decorating lazy suzanne from our local KMart for $10. I did this so that I didnt have to print a base etc.
I 3D printed up a cog that fitted snug around the base of the top spinning plate.
I then 3D printed a stand for the stepper motor and a cog to go on top of that.
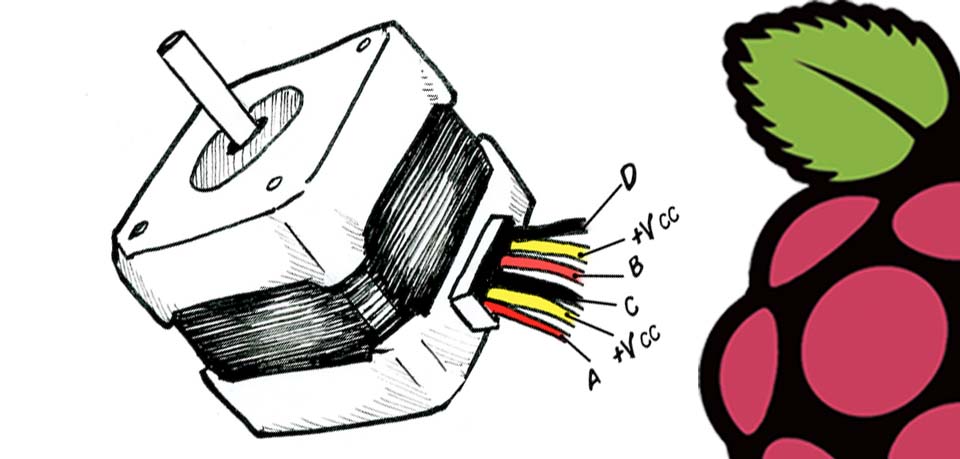
I bought the stepper motor from our local JayCar Electronic Store, it was an Arduino kit thing that came with a controller board.
I already had some wires that allowed me to connect the Raspberry Pi to the controller.
I also already had a USB webcam which I was using to take the photos.
To make things work I needed some code. The code basically needed to activate the stepper, turn a few degrees, take a photo and keep doing that for 360 degrees - or thereabouts.
I started with some code from the AdaFruit website. This code essentially demonstrated how to turn the stepper.
Before starting this project I obviously did some searching to find something similar - why re-invent the wheel. I subscribe to the Instructables website, and on it I found a project called Raspberry Pi Moving Timelapse. This project achieves close to what I am looking at doing.
I still wasn't satisfied with the stepper motor scripts and found an article called Stepper Motor Control in Python which was very useful. The thing that I was missing was how to connect the pins from the Arduino Stepper Motor Controller to the Raspberry Pi. This site gave me some hints to that too.
I needed a good image of the Raspberry Pi GPIO Layout for the Raspberry Pi 3. The Raspberry Pi Spy site had a very good image (Raspberry Pi GPIO Layout - Model B+) that solved this for me.